HOW TO CREATE AN INVOICE
In order to be able to create an invoice, you need to have the Billing module activated in your license. Billing is an Add-on Module which can be requested by contacting your sales representative. For our billing tutorial video, click here.
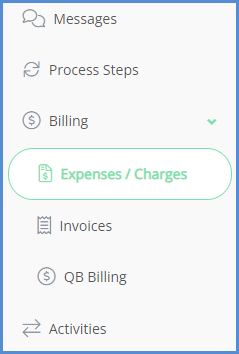
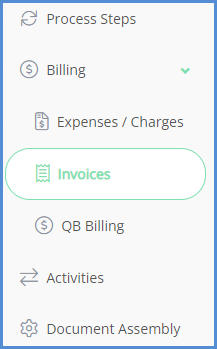
- From the case profile, click on the Billing tab, then click Expenses/Charges.
- Click on Add Expenses.
- The Add Timed Expenses button will appear if there is a Time Keeper entry available (and can only be seen when using the Time Keeper module).
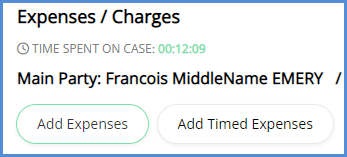
- The Add Timed Expenses button will appear if there is a Time Keeper entry available (and can only be seen when using the Time Keeper module).
- After you click Add Expenses, the expenses associated with the case process for the case will appear. If none appear, or you need your full lust of expenses, choose No Process at the top of the list. For our article on creating expenses and associating them with a case process, click here.
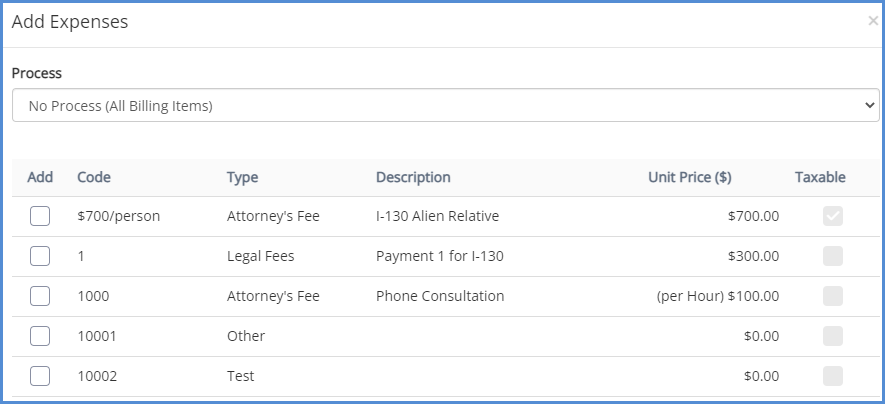
- Choose the case process you'd like to add billing items from, then select the billing items you wish to add to the case, and click Add Expenses.
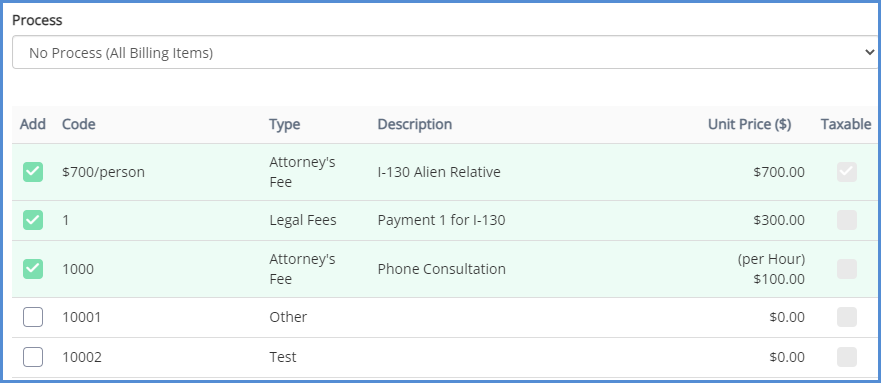
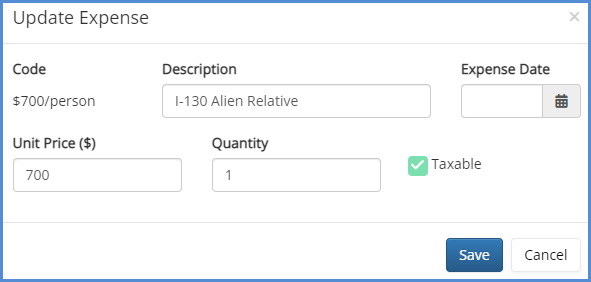
- If necessary, use the open button under the actions header to modify the Name, Unit Price, or Quantity of a billing item.

- Once your needed expenses have been added and updated, click on the invoices link.
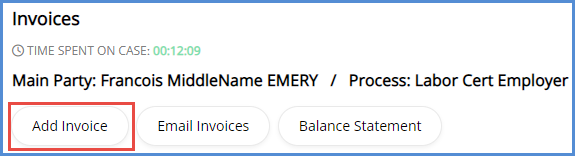
- Click on Add Invoice.
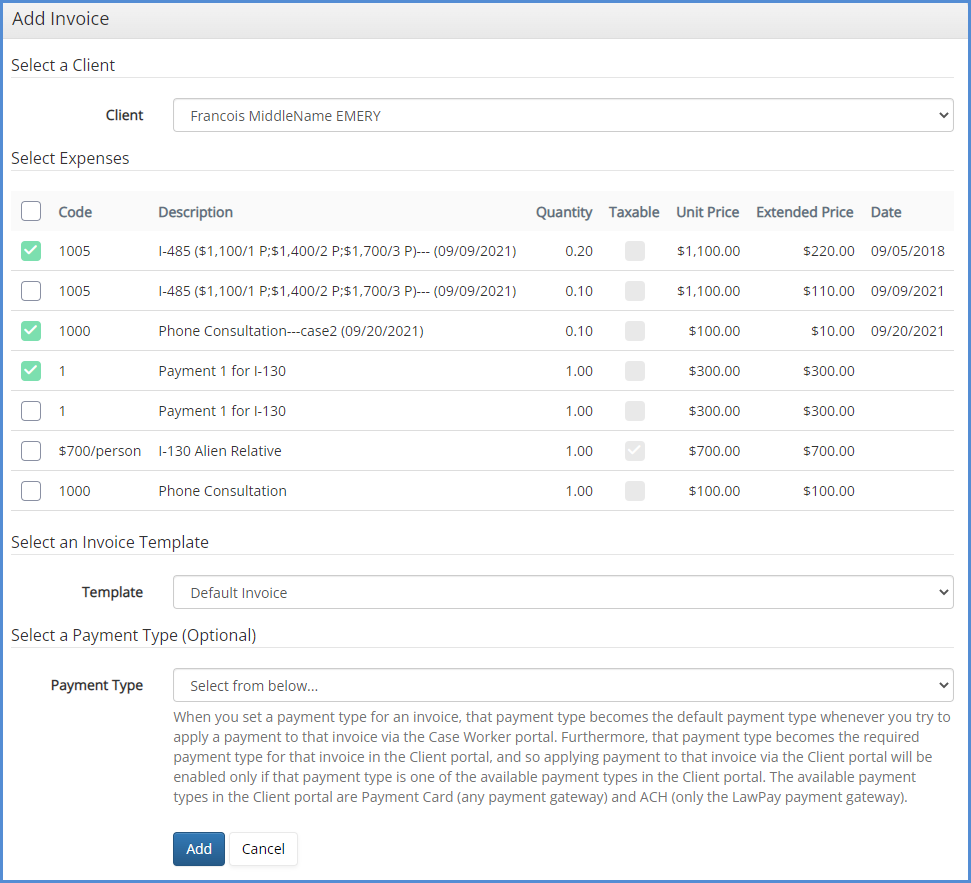
- Select the client you would like to invoice, select the expenses you wish to include on the invoice, and if applicable, select your invoice template and default payment type. Click the Add button.
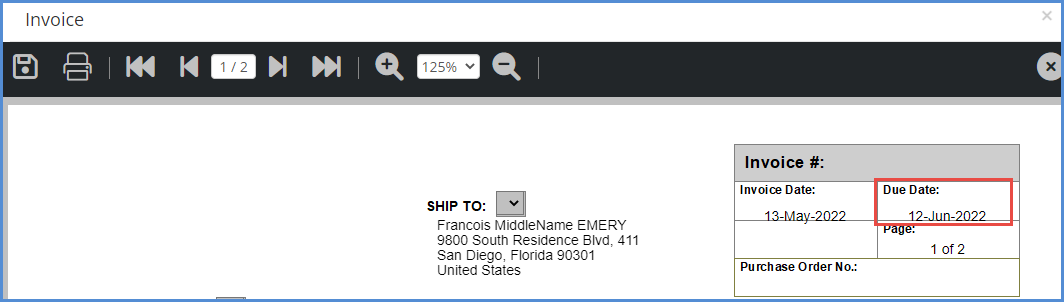
- Enter in your due date, double check the rest of the invoice, and when ready, click the Save button.
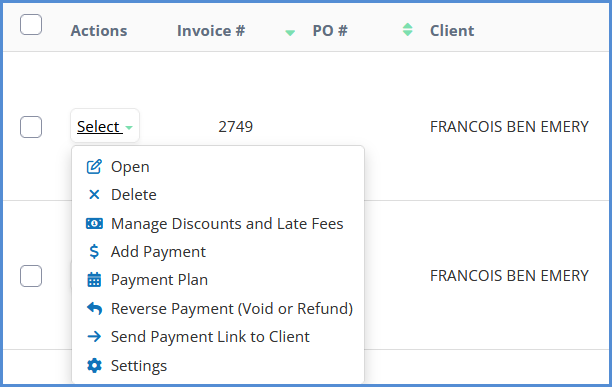
- Hover over Select box to see actions available for the newly created invoice.