QUESTIONNAIRE INTERFACE
Below are instructions that can be provided to the client in order to guide them on how to complete Questionnaires within the eimmigration Client Portal.
- You should have received and Email from your caseworker with access details such as URL, Username, and Password. Enter the information and click on Login.
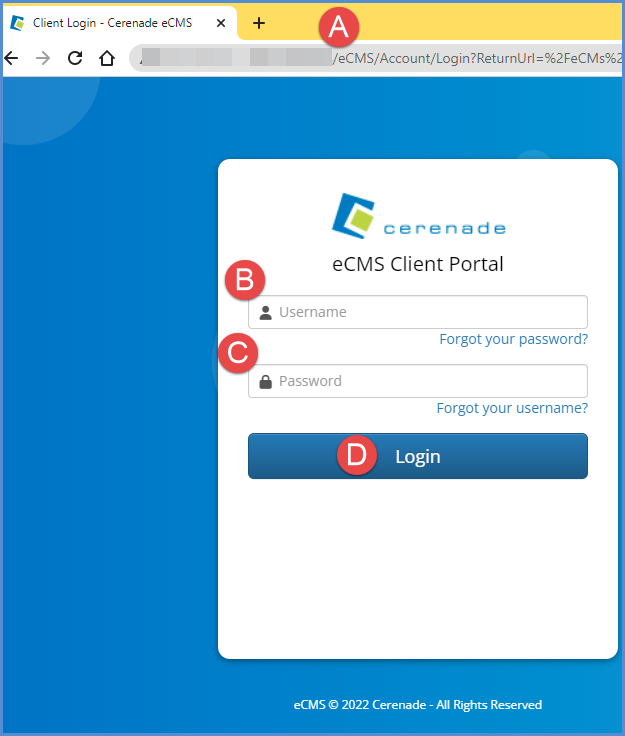
- URL
- Username
- Password
- Login Button
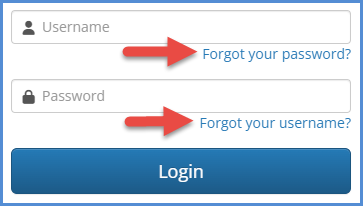
- If you've forgotten your password and/or username, use the links below the Login button to have those reset and Emailed to you.
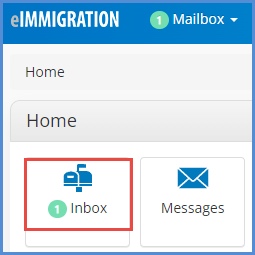
- Once logged in, to access the Questionnaires, click on the Inbox button.
- To open a Questionnaire, click on the open icon, located under the actions column.

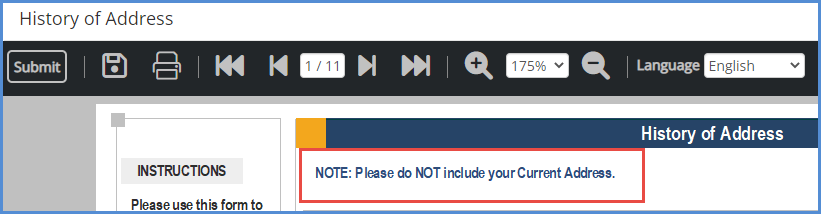
- Once the questionnaire is opened, you can select the Language to translate (this is only available for certain questionnaires). If you do not see the drop down, it means that translation is not available for this item that you've opened.
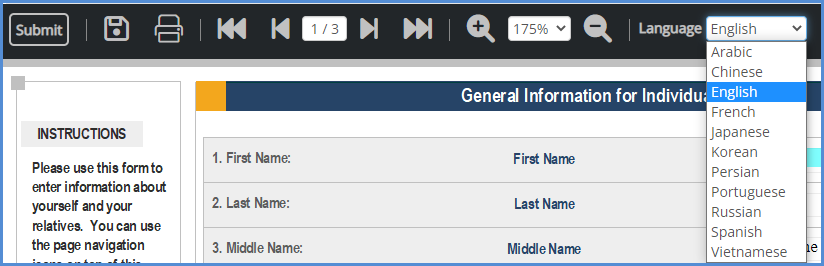
- Here is a description for each button. Please note that if you move your cursor over a given button, you'll see it's name.

- Submit to Caseworker - Once you've completed the questionnaire, click this button to submit the form back to the organization.
- Save to Server - Saves your data, but does not submit it. Use this button if you want to save your progress and come back to the form.
- Print - Click here to print the questionnaire.
- Page Navigation - This set of buttons will allow you to navigate the form and jump pages.
- Page Zoom - This set of buttons allow you to zoom in/out of the form.
- Language - If available, this drop down will allow you to set your language of preference for the questionnaire (note that this is only available for select items).
- When working on the questionnaire/intake form, take care to complete all fields for which you have information on. Also, on certain forms, you may see a button to add additional items (e.g., Add another relative, add additional addresses, etc). You may also see a button to upload documents.

- If you need to complete the History of Address questionnaire, do not enter your actual address. This information goes under the general information for individual client questionnaire on page 3. You can add as many entries as necessary, depending on the number of years of history requested.
- If you'd like to watch a video tutorial regarding your Client Portal and how to complete questionnaires, please click here.