POPULATING A FORM(S)
For our video on populating forms, click here.
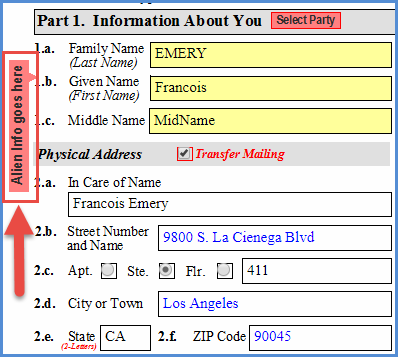
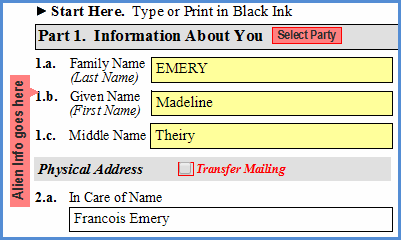
- On most forms you may see red non-printable text and check boxes on forms which provide you with options and information on how the forms are populated by the application. Below is an example of red text on the side of the form indicating what case party (if linked) will auto populate when the form is first opened. Here, since "Francois" is linked as alien, he has auto populated the form at initial open.
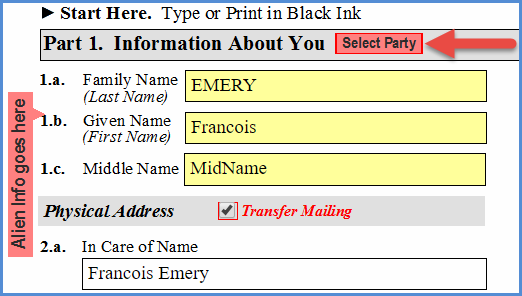
- If a contact's information doesn't initially populate a given section of the form (or if a different contact is linked to the current section), use the "Party on Demand" button to link/re-link that section of the form to a(nother) contact. Once you make the change, the form will refresh and link to the selected contact.
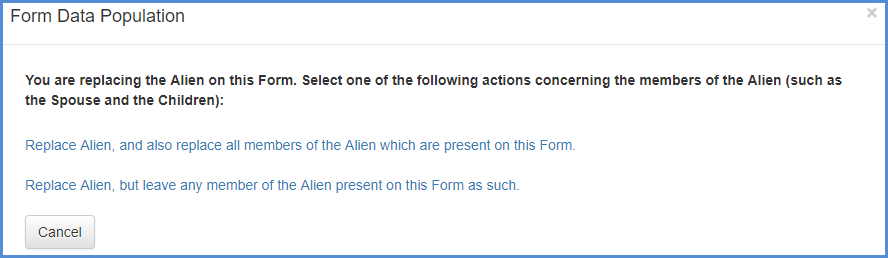
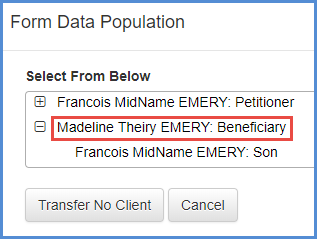
- If you have followed the above steps, or if you've opened the form and then receive a pop-up message like below, it means that there are two areas of the form that are linked to the same client. Because of this, the fields associated with those sections of the form are locked. If you'd like to modify that data, you can do one of two things: Either go into the contact's profile and add/modify the data from here, or use the party on demand button in one of those sections to unlink the client (choose "transfer no client"). The latter option will unlock the fields for editing in both sections.
- Business Clients (i.e. Corporate Petitioner) should always be assigned the Role of Employer in your Cases. Therefore, if you have assigned the Role of Petitioner to your Business Client in the Case, simply go to the Case Parties Tab and change the Role for this particular Case Party from Petitioner to Employer. This needs to be done to guarantee that in situations where forms ask for individual information vs. organization information, the proper data can populate to the proper area(s)
- NOTE: You can change assigned Roles to Case Parties by clicking on the Role link under the Role Column and change the Role in the Link Party - Details pop-up screen).
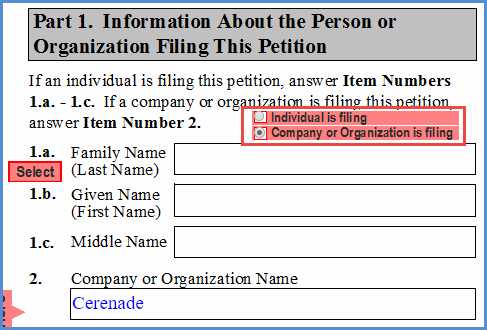
- Below is an example of radio buttons that when checked auto fill data onto a form. For example, on Page 1 of I-129, under Part 1 section (see screen snippet below and pay particular attention to the red radio buttons which are pointed out in this Email with red arrows), the radio buttons Organization and Individual allow you to choose whether the Petitioner is an Individual or a Business/Organization.
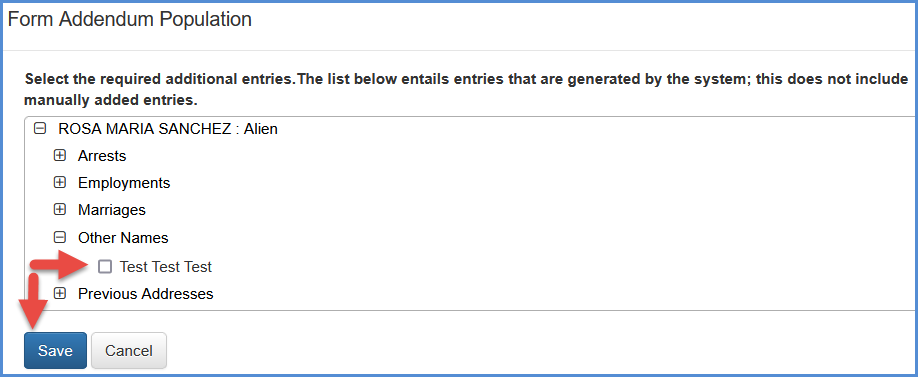
- On addendum pages for certain forms that allow for it, you can select additional entries to populate.
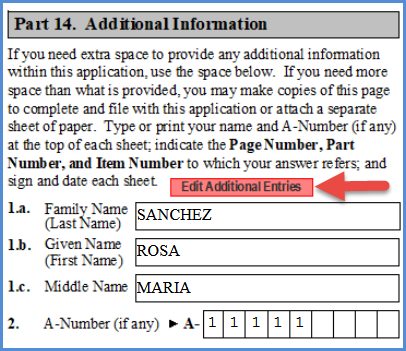
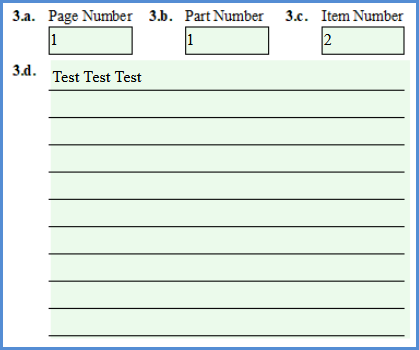
- For addendum fields that populate from the client profile, the fields are shaded green.
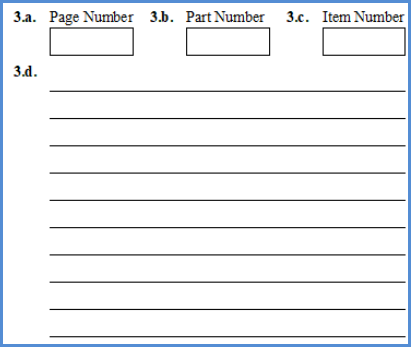
- To get rid of a field that's auto populated to the addendum, use the Edit Additional Entries button and uncheck the additional entry and click Save. DO NOT try and manually delete the entry as you will not be able to remove the page and part numbers manually.
- For addendum fields that populate from the client profile, the fields are shaded green.