MOVING CLIENT-UPLOADED DOCUMENTS TO CASES
When clients upload documents via the client portal, they can be found via the documents>other folder in the client's profile. In an event where you'd like to move the uploaded document(s) to the case (without having to download, and re-upload the document), please follow the steps below.
- From a client profile, click Documents, then click Other.
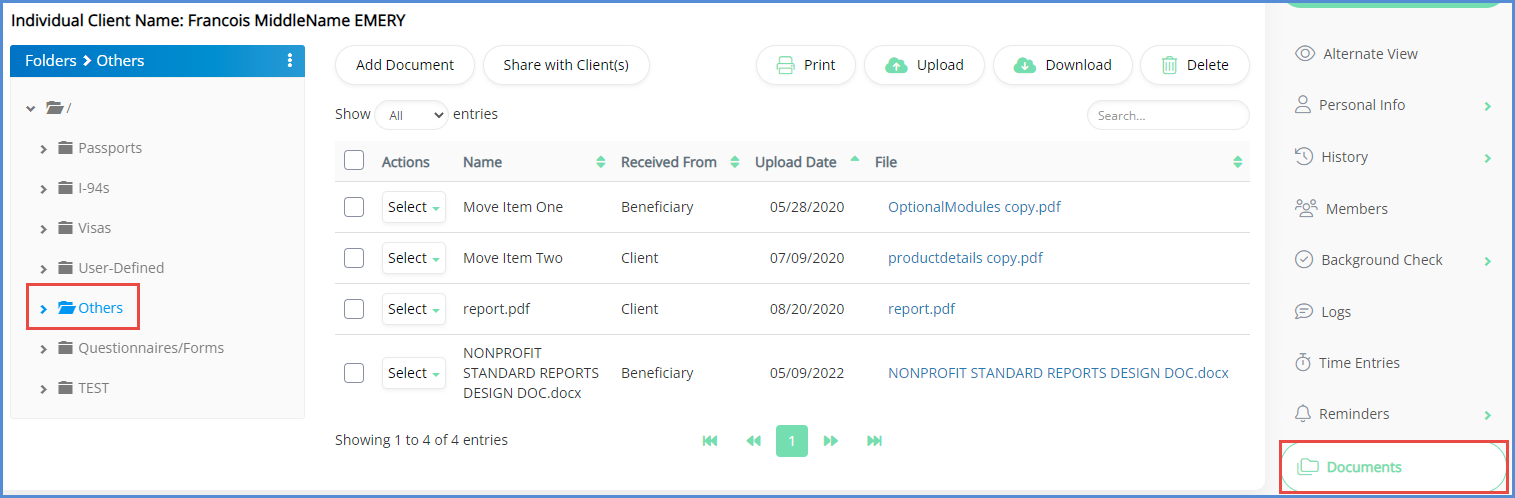
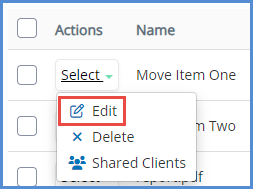
- Find the document you wish to move, and click Edit.
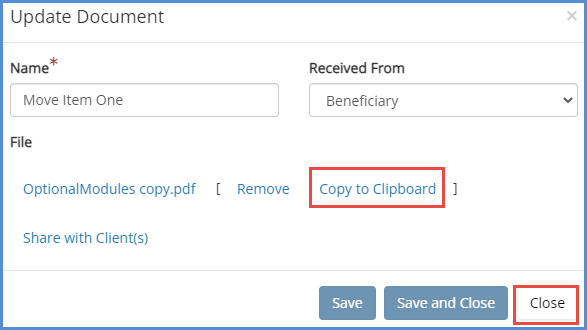
- Click Copy to Clipboard. Then click close.
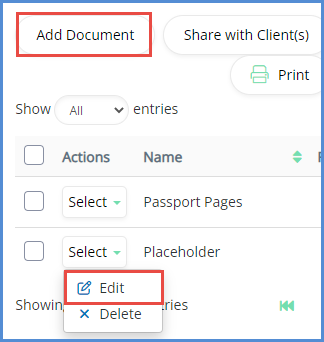
- Open a case, and click the Documents tab (you can also add the document to any documents sub-folder you created).
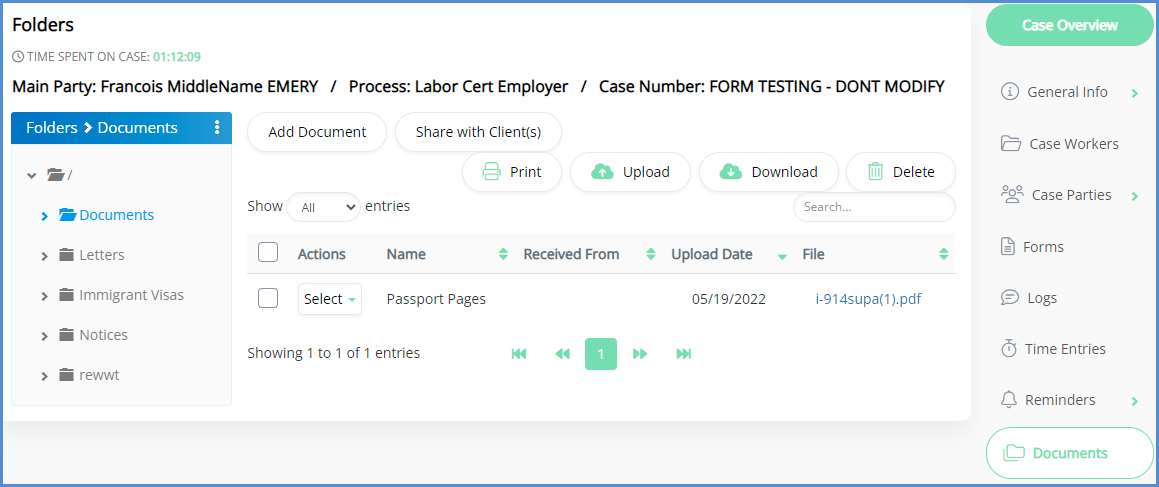
- Click the Add Document button OR If you're uploading to a document checklist item, click the edit icon next to the line item.
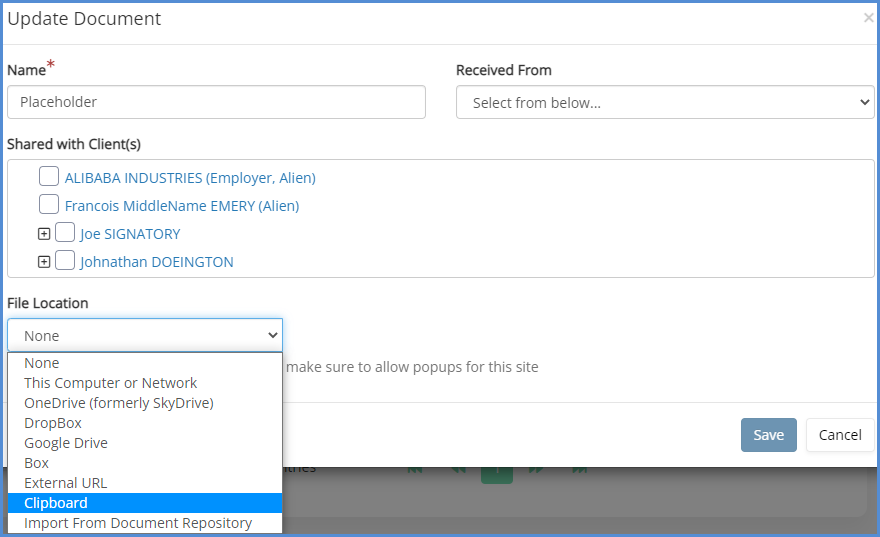
- From the document data page, enter the necessary information. For the File Location drop down, choose Clipboard.
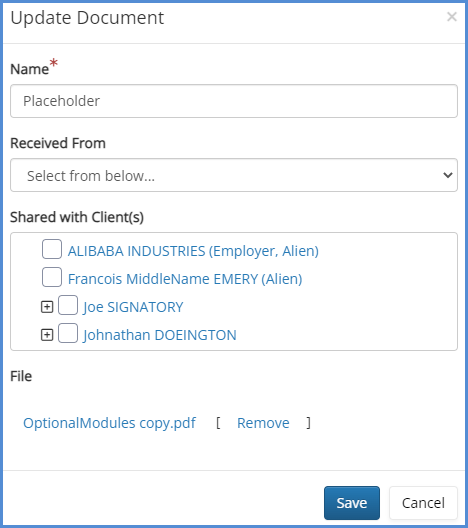
- Click Save. Note from the screenshot below that once you choose clipboard, the name of the file you copied in step 3 will appear.
- The file will be copied to the case. Please note that the file will only be copied. If you wish to remove the document from the client profile after completing the copy action, you may navigate back to the client profile and delete the document so as to not have duplicates.