HOW TO ATTACH DOCUMENT TO A CASE & HOW TO EMAIL A DOCUMENT
- From the case profile, click on the Documents tab.
- Depending on the case process that you have selected, you may have a document checklist already in place. You can either attach a document to one of the entries, or attach a document that is not listed in your document checklist. The steps to do both are below:
Attaching a Document to a checklist item:
If there is a document checklist setup for the case process that is in use, one can upload a document directly to a checklist item. To do this, do the following:
- Identify the document checklist item you wish to upload a file for, and click edit.

- From the next screen, select from whom the document was received, if you'd like to share the document with any other party (this makes the document available when the selected party logs into their account), as well as the file location.
- Depending on what you select for the file location, your steps may be a little different for this portion of the tutorial. For this example, we'll be selecting This Computer or Network.
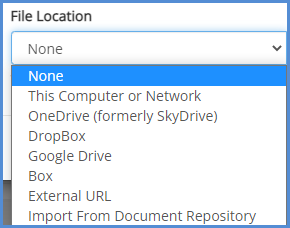
- Depending on what you select for the file location, your steps may be a little different for this portion of the tutorial. For this example, we'll be selecting This Computer or Network.
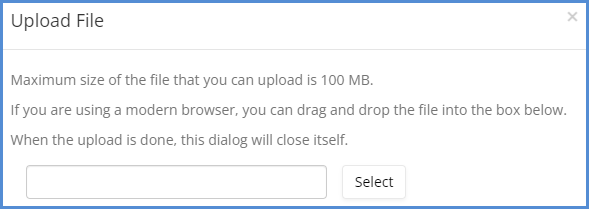
- Once your file location has been selected, you will be able to browse for that file. Do this by clicking the Select button.
- Once you've identified your document and added it to the program, click the Save button.
- When the document is uploaded you'll see the checklist item with the upload date filled in, as well as a link to the file directly on the documents page.
Attaching an Unlisted Document:
When you'd like to add a document to the case profile and do not have a document checklist you can do the following:
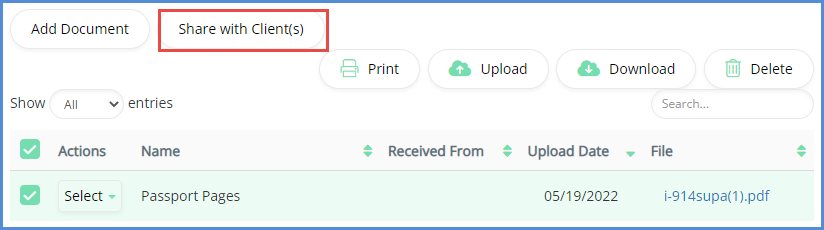
- From the documents tab, click on the Add Document button.
- Enter in the document name, select from whom it was received, if you'd like to share the document with any other party (this makes the document available when the selected party logs into their account), as well as the file location.
- NOTE: Depending on what you select for the file location, your steps may be a little different for this portion of the tutorial. For this example, we'll be selecting This Computer or Network.
- NOTE: Depending on what you select for the file location, your steps may be a little different for this portion of the tutorial. For this example, we'll be selecting This Computer or Network.
- Once your file location has been selected, you will be able to browse for that file. Do this by clicking the Select button.
- Once you've identified your document and added it to the program, click the Save button.
- When the document is uploaded you'll see the checklist item with the upload date filled in, as well as a link to the file directly on the documents page.
How to Share and Email documents:
Once a document has been uploaded to the case process tab, you are able to share and Email it to whomever is necessary. To do this, do the following:
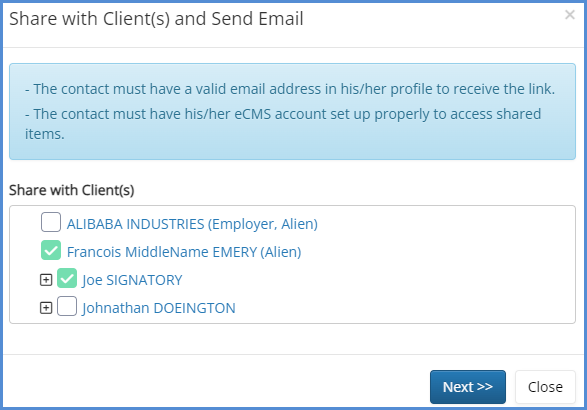
- From the documents tab, select the documents you wish to share and Email, and click on the Share with Client(s) button.
- On the next screen, select with whom you'd like to share the documents with, and click Next.
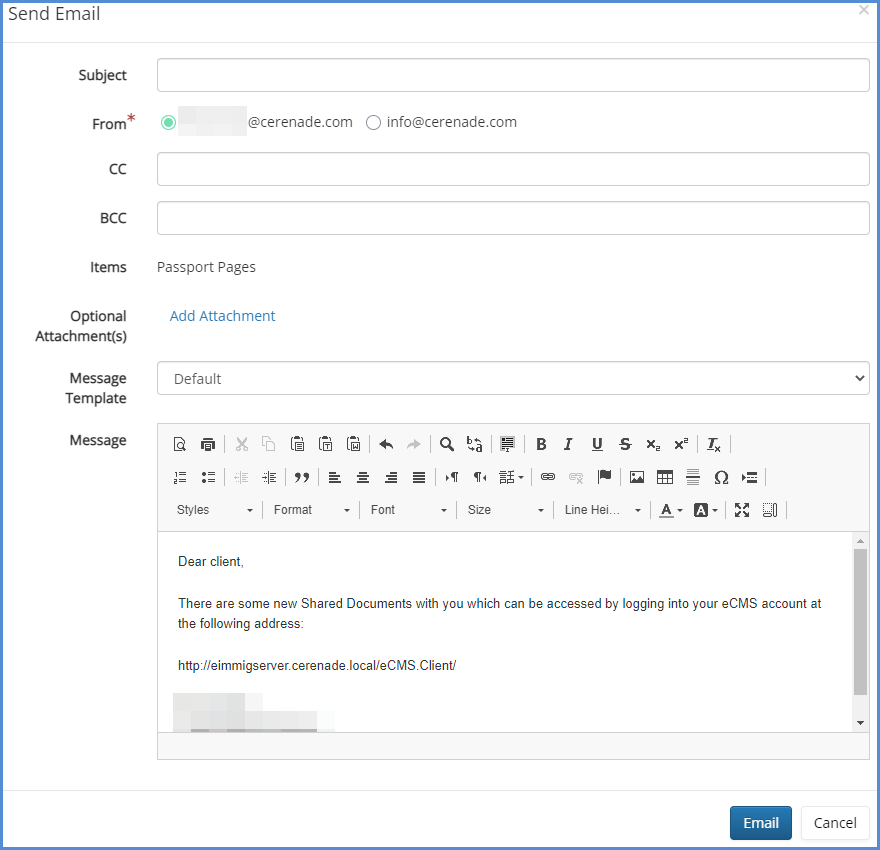
- If you wish to notify the client via Email, click on the Email button.
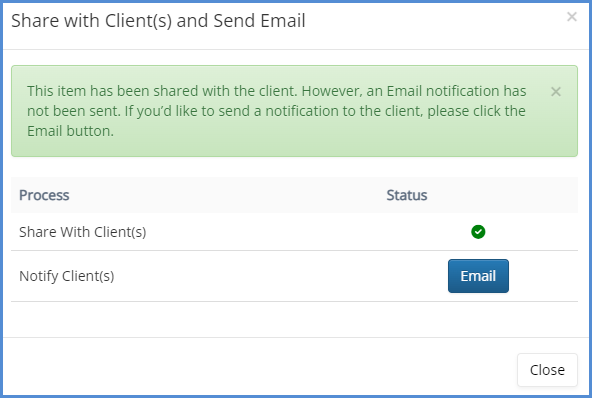
- Fill out the necessary fields, and click Email.