CREATING A CUSTOM INTAKE FORM
Custom intake forms can be created and sent to clients as a questionnaire, or completed from within the contact profile as an alternate view. This article will take you through the initial steps of creating a custom intake form. We highly recommend watching our video explainer as well. For our video on the topic, click here.
- Navigate to the Administrative tools.
-
Click on Custom Form Templates.
-
Click on the Intake Forms tab.

-
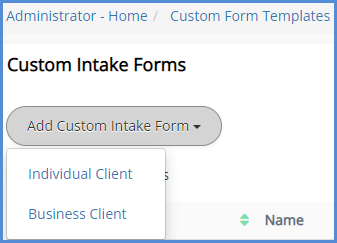
Using the Add Custom Intake Form button, select if this intake form being created is for an Individual Client or a Business Client. For our example, we'll be creating one for an Individual Client.
-
The intake form creator will appear. Name the form.
-
At any point during your custom form setup, you can use the Preview button to preview your intake form.
-
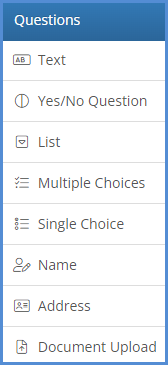
On the left hand side, you'll see a navigation tab that allows you to add elements to your intake form. After you add your questions, you'll be able to map these questions to fields in the client profile (existing and custom fields).
-
Questions - This is where you'll add the majority of your questions and intake items.
-
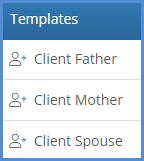
Templates - For capturing family members.
-
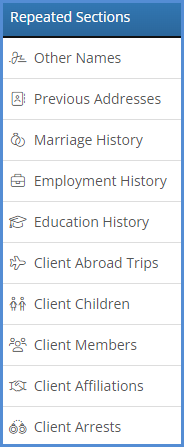
Repeated Sections - Here, you can add items that a contact profile can have multiple of (Marriage, Employment, Education, Children, Arrests, etc). On the intake form itself, the individual filling it out will see a single entry for the repeated item, and have the opportunity to click an add more button as many times as necessary, in order to add all items.
-
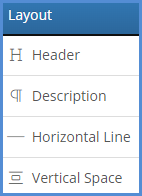
Layout - From here you can add headers, description/instruction (example: "Please add only 5 years worth of travel history), horizontal lines, and vertical spaces.
-
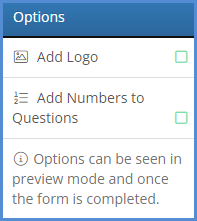
Options - Include your logo and choose to number the questions added to your intake form.
-
-
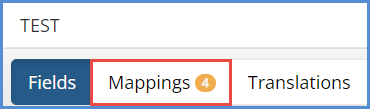
Once you've set up your intake form, click the Mappings button.
-
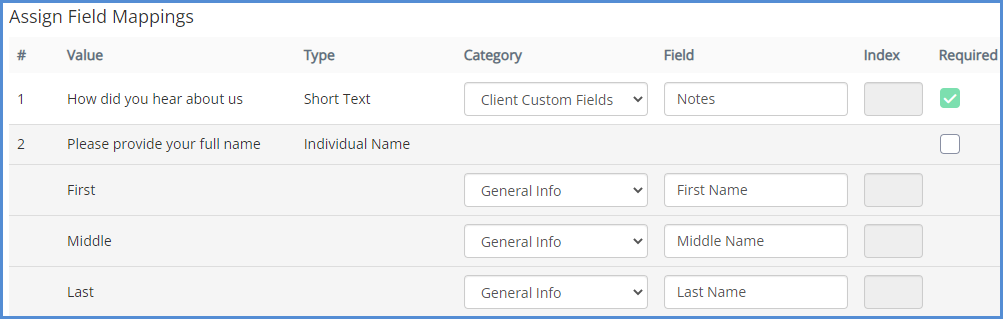
The next part of the process for creating your custom intake form is to assign field mapping. This is done so that data filled out on the intake form can be saved in the client profile, whether it be in an existing client profile field, or a custom field that was created prior to the field mapping process being done here.
-
If you haven't done so, please click Save. Once you click the save button, you may be taken back out to the intake form list. If so, click the edit icon to re-open the intake form editor, and click Next again so that you're back on the Field Mapping page.
-
Under the Category header, find the appropriate category for which the specific field should be mapped to. Once you select the category, the field column will open up and allow you to search for the actual field within the contact profile that the intake answer should be mapped to.
-
Example: For custom fields, choose the category Client Custom Fields. Then use the Fields column to select the corresponding client custom field.
-
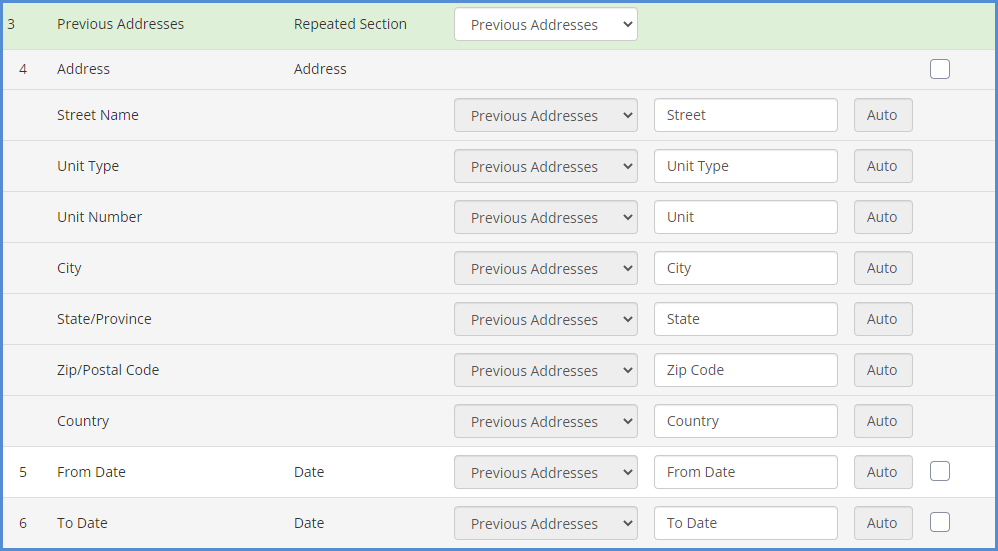
Example: For Repeated Sections, when you select the base category, the categories for the items after will be filled automatically. All that needs to be done is to map the corresponding Fields.
-
-
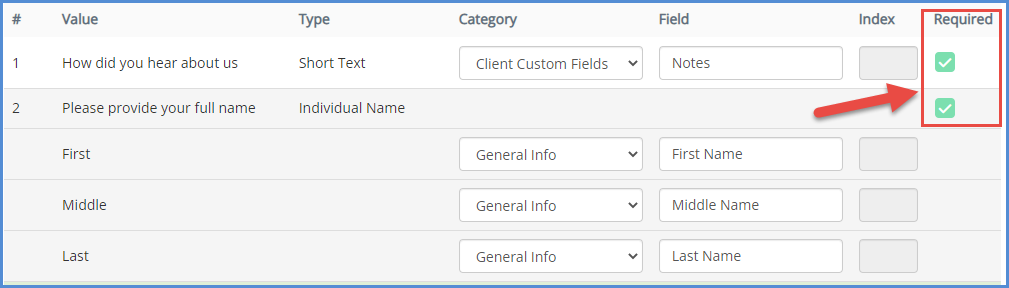
Under the Required column, choose if that field is required to be answered before submission. You can designate none, one, some, or all fields to be required.
-
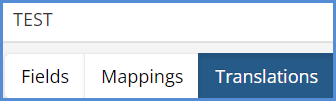
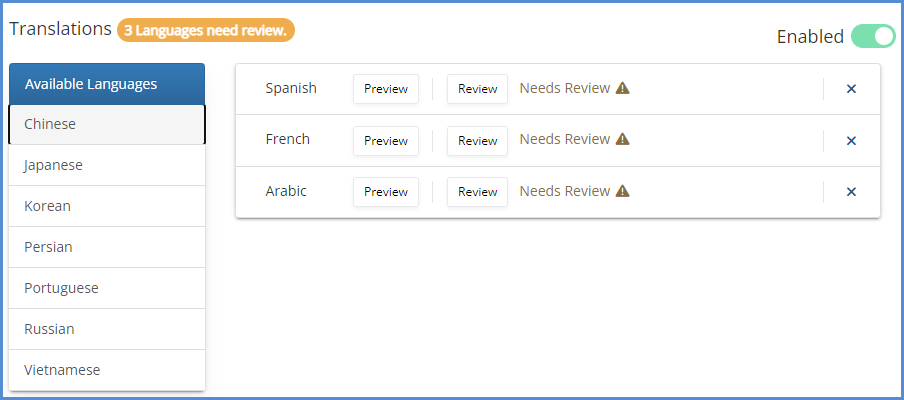
Once you've set up the Custom Intake Form to your liking, you can use the Translations button to include options to translate the intake form into a different language.
-
Click the Enabled button.

-
Choose the languages you'd like to include as translation options. Once a language is added, it will move from the left hand tab to the main part of the screen.
-
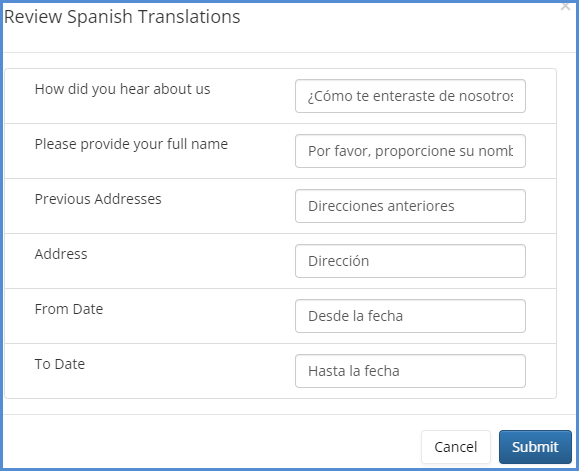
Use the Review button to review the translations for each language. eimmigration uses a translation service to auto translate each intake form item added to the form, however you still need to verify the translations are to your liking. You can change the wording of any translated item. You will need to review ALL translations before you can proceed with saving your intake form.
-
-
Click the Preview button to preview. Note that you can preview the Custom Intake Form at any point during your form creation.
-
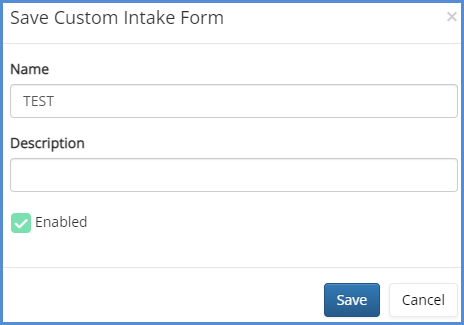
When done, click Save. Note that you can always come back to the template and edit it.
-
Read any additional details that may appear under the Save Form header, verify the Name and Description of your intake form, and if you want this to be available for use via the Caseworker portal, click the Enabled button. Again, click Save.
.