HOW TO GET CUSTOM FIELDS TO POPULATE TO FORMS
In order to have a custom field populate to a form, you must have a custom field created. For more information on creating custom fields, please see our User Guide article on the matter.This article assumes that you've set up the necessary custom fields already. Please note that whenever a new version of a form is released all custom field to form calculations will be reset as a precaution against incorrect form population on account of the potential for changing form instructions/context. For our video on this topic, click here.
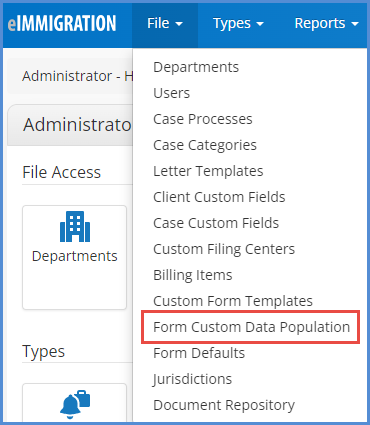
- Navigate to the Administrative Tools.
- You can populate from either section, and the process is the same (for the purposes of this tutorial, we will use Client Custom Fields). Click on File > Form Custom Data Population.
- Click on Add Form Custom Data Population.
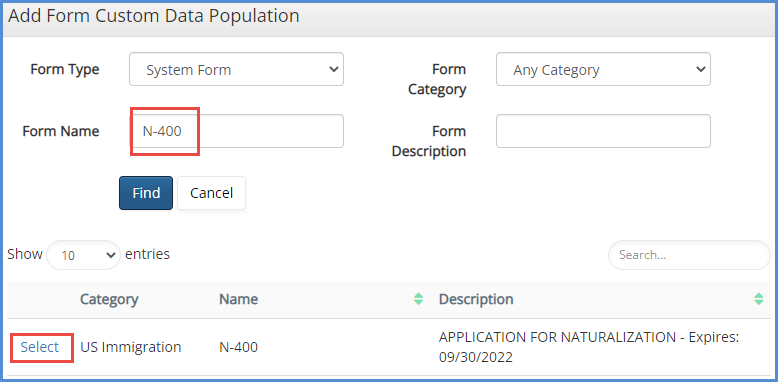
- Search for the form you'd like to populate to, then click Select.
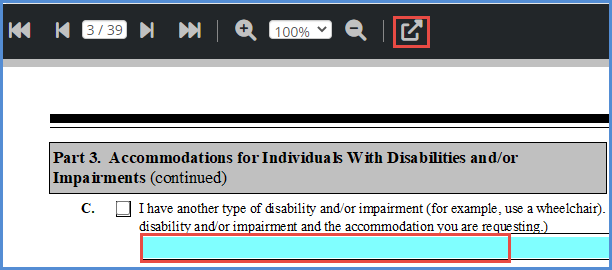
- Click into the field that you'd like to populate from a custom field, then click the
 icon.
icon.
- NOTE: We understand the following scenario and fields used do not make sense. This is for the sole purpose of this walk-through.
- NOTE: Not all fields on the form will be edit-able. The selected field must be one that isn't already coded to populate from a client profile already.
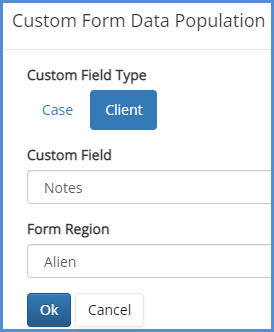
- A pop-up will appear and allow you to select the custom field you wish to have populate the selected field, on the form. You will also need to decide the role of the linked client that will allow data to populate (for example, should the data populate from the Employer, Alien, etc). Click OK.
- The form will refresh, and the field will turn red.

- Close out of the form.