CHANGING DEFAULT CASE PROCESSES
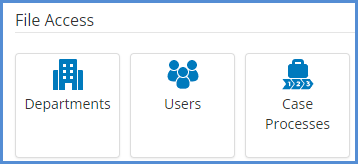
- Navigate to the Administrative Tools.
- Click on the Case Processes icon.
- To add a case process, click the Add Case Process button.

- Name the new case process, and click Save.
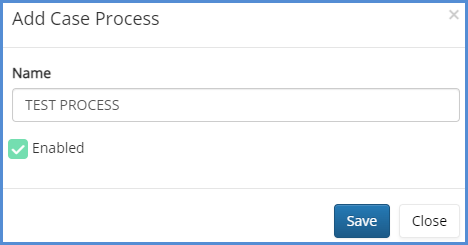
- If the enabled box is unchecked, the case process will still be created, but it will be hidden from the caseworker view.
- From the case process list, there are a number of other items that can be done as well:
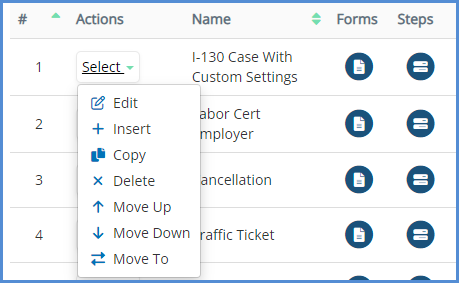
- Editing allows you to edit the case process name, and enable/disable the case process (see note for step four on enabling/disabling case processes).
- Insert allows for you to create and insert a new case process after the process for which you clicked the icon for.
- Delete allows for you to delete the case process from the system completely.
- Copy lets you create a copy of the entire case process (along with all forms, steps, documents, etc, associated with the case).
- Move Up moves the case process up one line within the case process list.
- Move Down moves the case process down one line within the case process list.
- Move To lets you to decide the exact line item when you want to move the process to within the case process list.