ACUITY SCHEDULER
Acuity Scheduler integration is an optional module that allows caseworkers to set up appointments for your Acuity calendar, based on availability, via eimmigration. Within eimmigration you can associate clients and cases to the Acuity appointment and see these in Acuity as well. Please note that in order to take advantage of Acuity's API offerings, you need to have the Acuity "Powerhouse" plan. Any lesser plan offering from Acuity will not allow for eimmigration to complete the integration. For our video on Acuity Integration, click here.
GATHERING ACUITY DETAILS
- Login to Acuity.
- Click Integration.
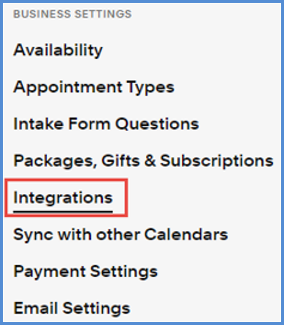
- Click on the API link or scroll down to API.

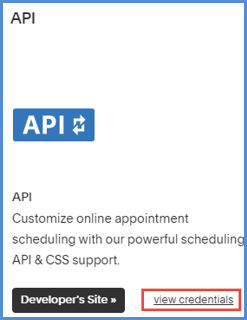
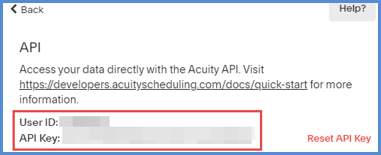
- Click on View Credentials and copy the User ID and API Key to a document. You'll need these later.
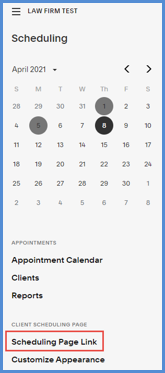
- Click on the Scheduling Page Link.
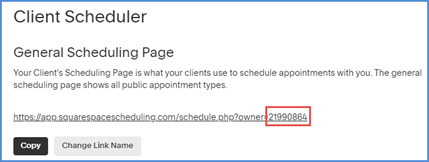
- Copy the Owner ID, which can be found after the = sign in the resulting URL. You'll need this number later.
CONNECTING ACUITY TO EIMMIGRATION
- Log in to your caseworker portal.
- Click on User Preferences.
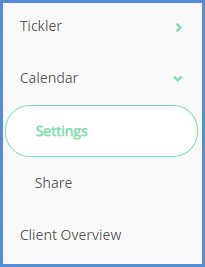
- Click on the Calendar>Settings tab.
- Check the Connect To Acuity box.
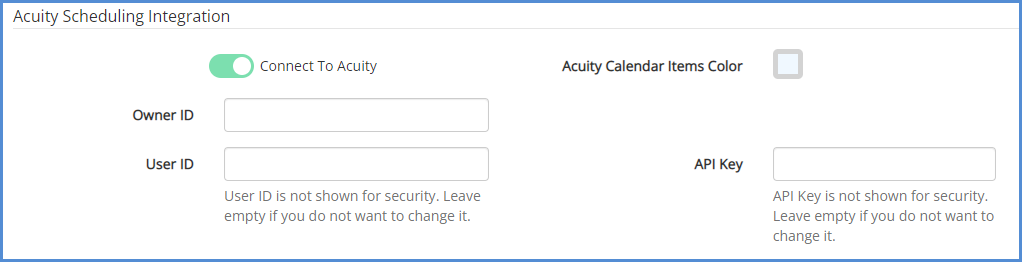
- Click Save.
SETTING UP ACUITY TO ACCEPT LINKED CLIENTS AND CASES
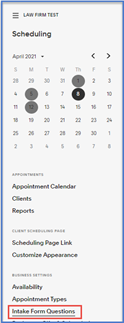
- Click on Intake Form Questions
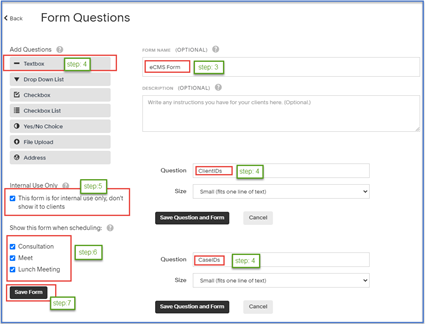
- Add a New Custom Form.

- Name the form "eCMS Form".
- Add two Text box Fields and name them "ClientIDs" and "CaseIDs".
- Check the "This form is for internal use only, don't show it to clients" box.
- Add the form to all Appointment Types.
- Click the Save Form button.
ADDING APPOINTMENTS TO YOUR ACUITY CALENDAR, VIA EIMMIGRATION
- Open the eimmigration Calendar.
- Click on Add Appointment.
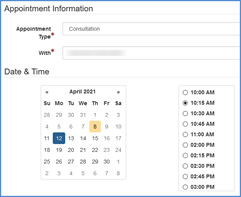
- In the pop up, select the linked Acuity calendar.

- Set your Appointment Type and who the appointment is with. Once these items are selected, a calendar will appear with the available days. Click on a day, and then select from the available time-slots.
- Under the Client Name header, click on Link and search and add the client you wish to associate with this appointment. You can also associate a case with this appointment, if necessary.

- Enter any notes in the notes box, and click Save.
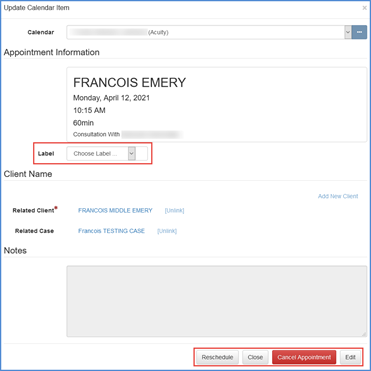
- Once an appointment has been created, you can click on the appointment in the calendar to bring up its details. From here, you can set the appointment Label. You can also Edit the appointment details, reschedule, or cancel the appointment.