MAIL ANYWHERE MODULE
The Mail Anywhere module is an additional module that you can subscribe to for use. This module allows you the capability of uploading Emails, as well as Email attachments directly to your system. With this module, there is no need to copy and paste the Email body to a word document for uploading. Also, there is no need to download an Email attachment in order for uploading to the system. For our video training on this matter, click here.
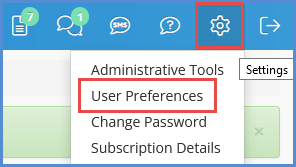
- From the Caseworker portal, hover over the gear icon, then click User Preferences.
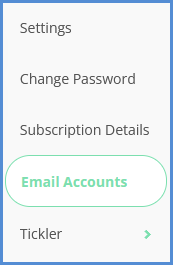
- From the Email Accounts tab, click on Add Email Account.
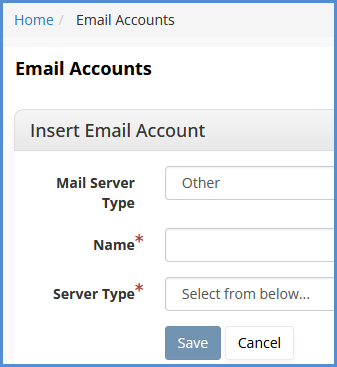
- Choose your Mail Server Type, Name, and Server Type (Once you choose a Mail Server Type, you'll be given fields where you can enter your Email username and password, and the option to click save password). Once done, click Save.
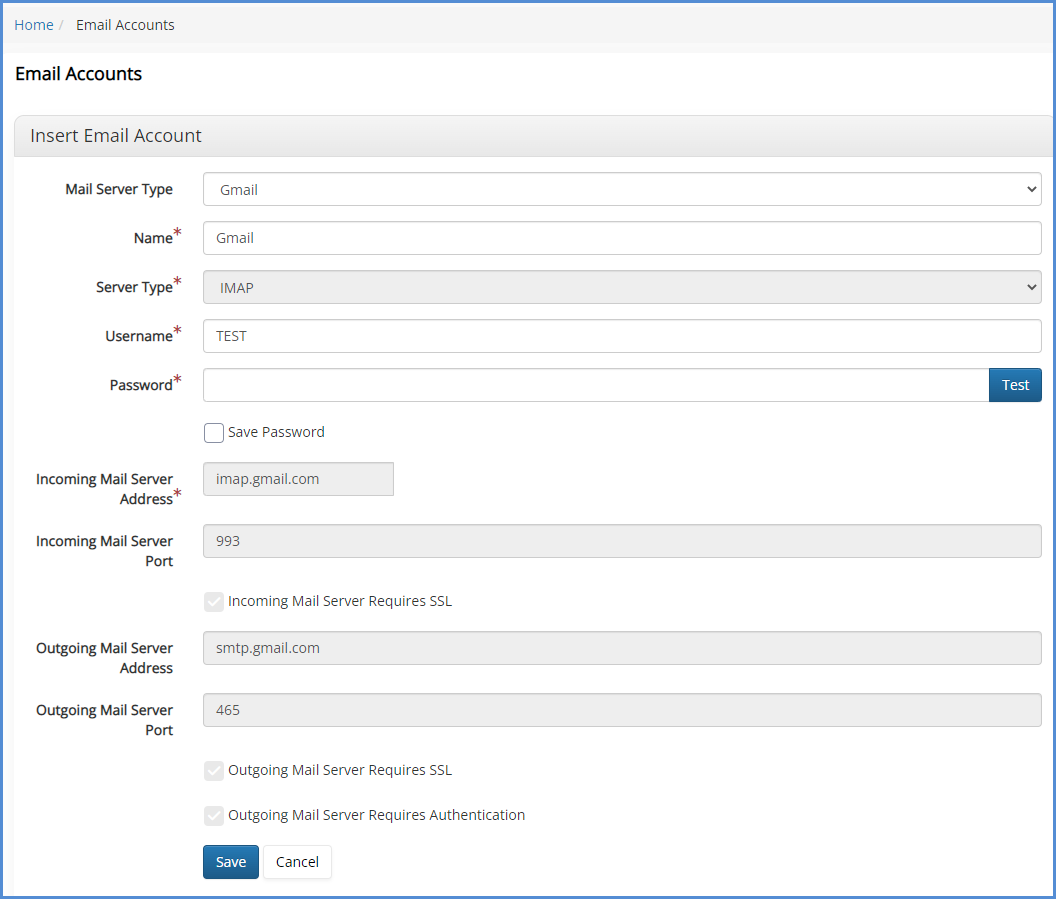
- If you would like to test and make sure that you entered in your user name and password correctly, click on Test. If the information is entered in properly, you will see “Ok” appear.
- NOTE IF LINKING A MICROSOFT EMAIL ACCOUNT: This is recommended to be done directly from document upload.
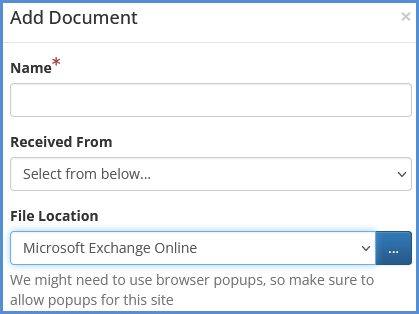
- For the file location, choose Microsoft Exchange Online
-
Sign in, using the corresponding pop-up.
-
Use the Email picker to complete the upload process.
- For the file location, choose Microsoft Exchange Online
- NOTE IF LINKING A MICROSOFT EMAIL ACCOUNT: This is recommended to be done directly from document upload.
- At this point you can repeat the above steps to add another Email address if you would like. If not, proceed to the next step to learn how to use the Mail Anywhere module.
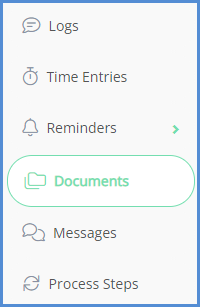
- Now that you have added your Email account to the system, you can open up either a contact or case profile (depending on where you wish to upload your Email body/attachments), and click on the Documents tab. For this example we will be using the case profile.
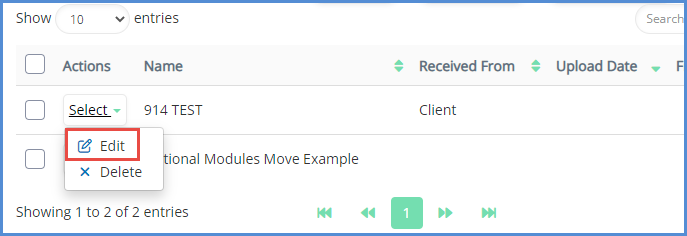
- If there is a document checklist setup for the case process that is in use, you can upload a document directly to a checklist item. Identify the document checklist item you wish to upload a file for, hover over the actions button click edit.
- If you don't have a specific checklist item that you wish to upload anything for, all you need to do is click Add Document.
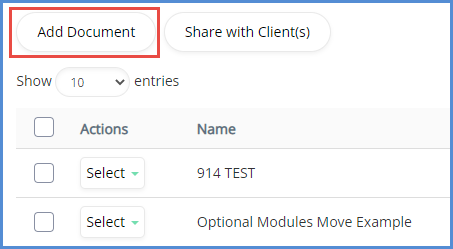
- If you don't have a specific checklist item that you wish to upload anything for, all you need to do is click Add Document.
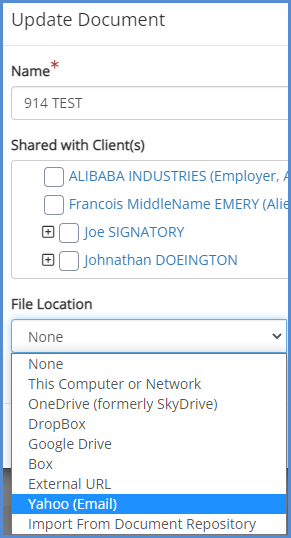
- Using the File Location drop down, select Email.
- First, select the location of the Email that you wish to upload, then select the Email that you wish to upload, and click Next.
- Depending on the Email that you are selecting, you will be given options on what portions of the Email to pick and upload. Select the parts of the Email you wish to upload, and click Finish.
- Note: The Email body will always be an option, and if you have any attachments, those attachments will also be available for upload.
- Note: If uploading multiple parts, they will all be compiled in a .zip folder that will be uploaded to the system.
- Verify the information on the screen, and click Save.
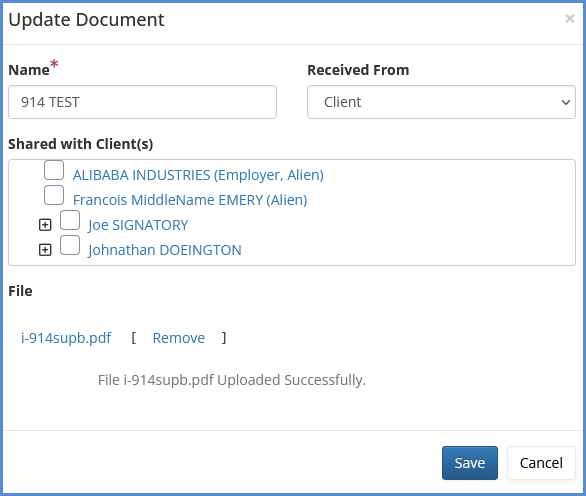
- Note that the files have been uploaded, and you are able to download those attachments by clicking the hyperlink.
